出處: Youtube 彭彭的課程 Python Flask 網站後端開發 – MongoDB 資料庫簡介、快速開始
實作筆記
MongoDB 簡介
MongoDB是最受歡迎的非關聯式資料庫,除了對JSON格式友善以及簡潔的文件模型外,容易水平擴展也是MongoDB很棒的特點,對後期資料量龐大這一點很有幫助。
MongoDB 的使用
可使用免費官方雲端或是把它安裝在自己的電腦上。
免費官方雲端的建置流程
- 註冊帳號
- 建立一個組織(任意名稱)
- 建立一個專案(任意名稱)
- 建立資料庫遠端存取權限
- 建立資料庫叢集Databases (原名為Clusters)
- 進行程式測試
Python連線資料庫流程
- 安裝套件Pymongo[srv]
- 寫連線資料庫的程式
- 進行第一次資料寫入
- 確認測試成功
免費官方雲端的建置
- MongoDB 註冊帳號
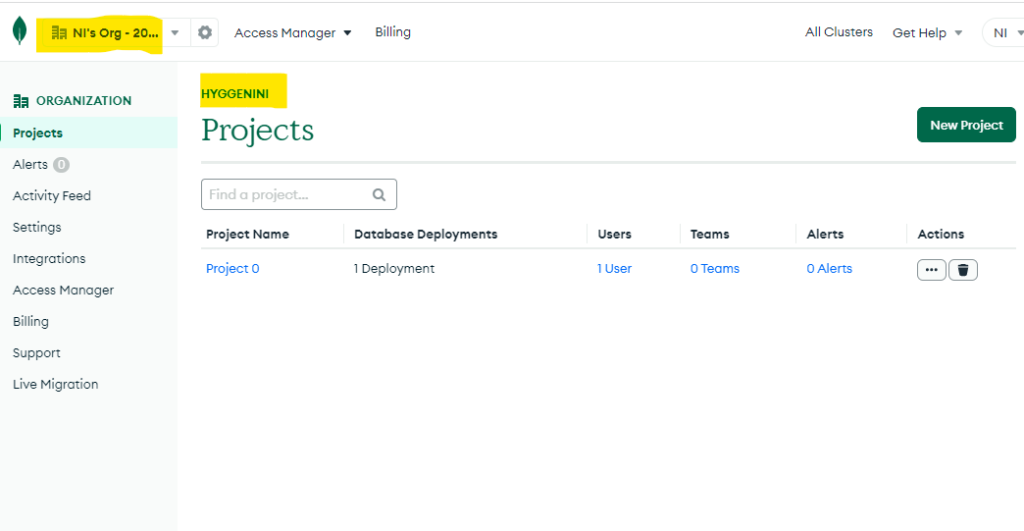
- 建立一個組織(任意名稱),登入帳號並點選左上的組織,可在Settinhs內改成自己的組織名,然後再按一次左上,可以看到全部專案選擇Hyggenini組織
- 建立一個專案(任意名稱)
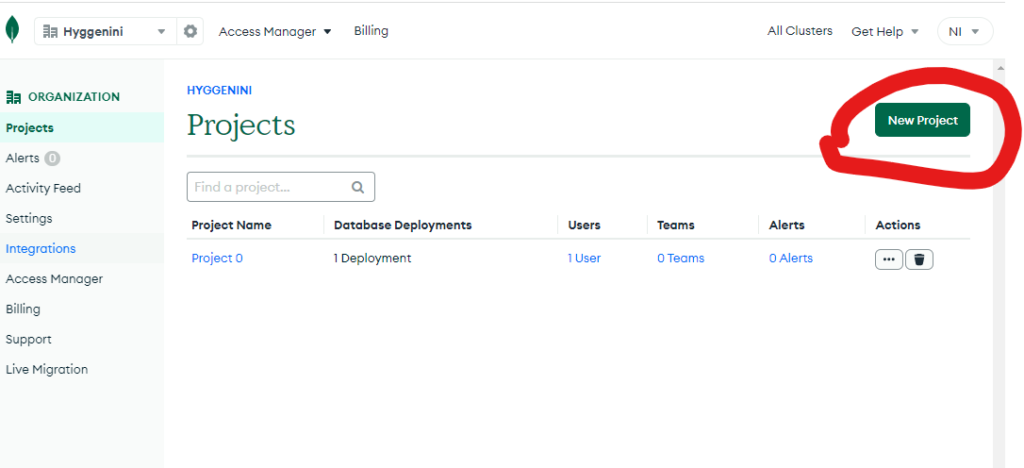
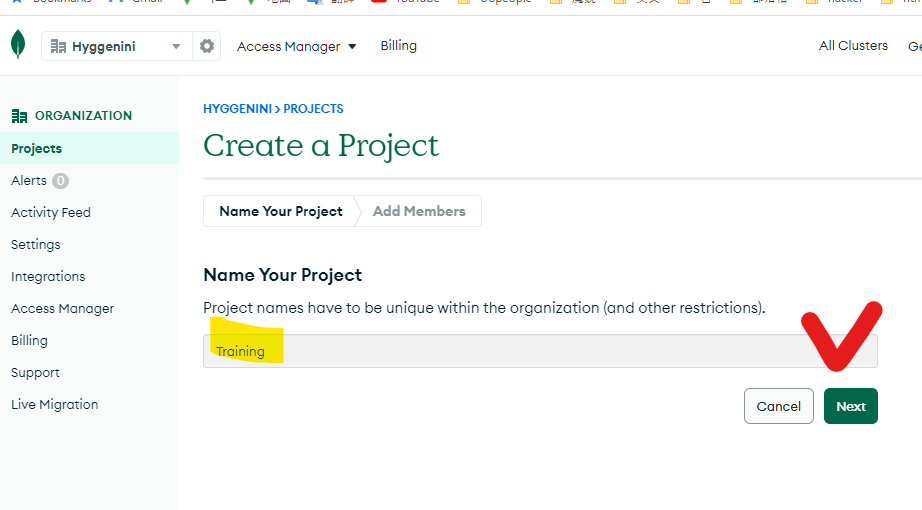
確認信箱無誤後按下創立
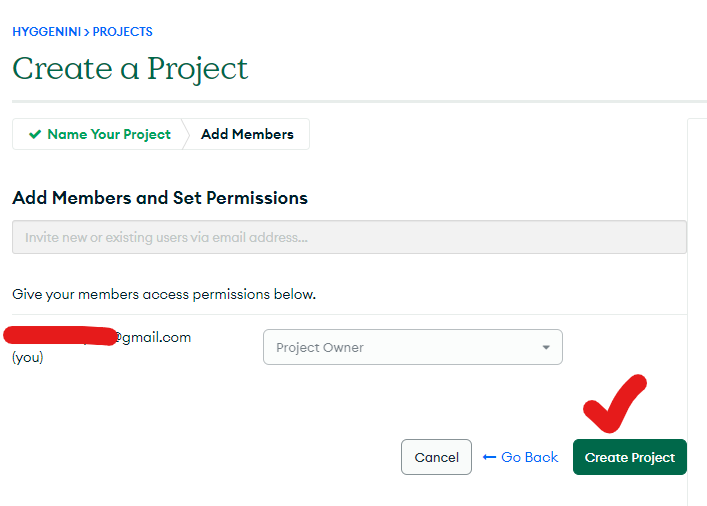
以下可以會在組織下發現專案已經被創立了
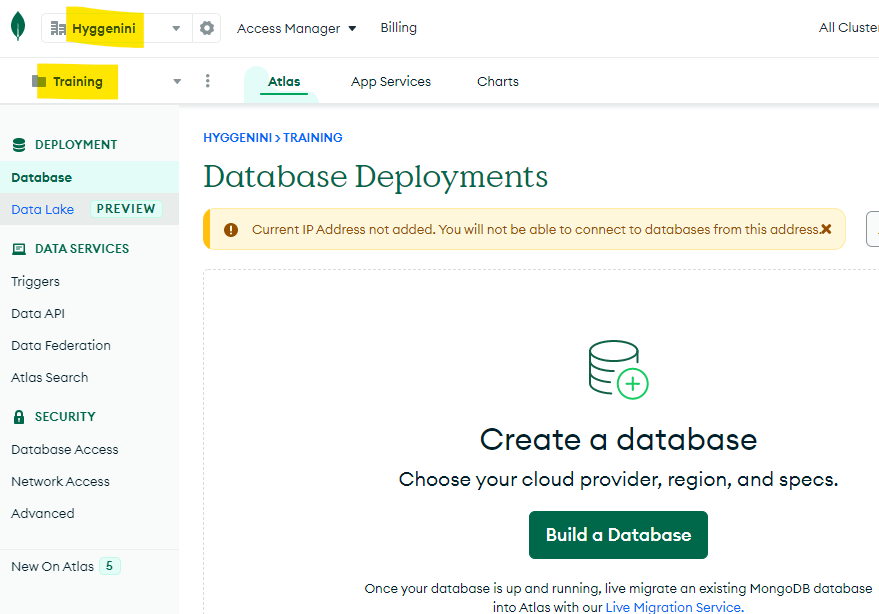
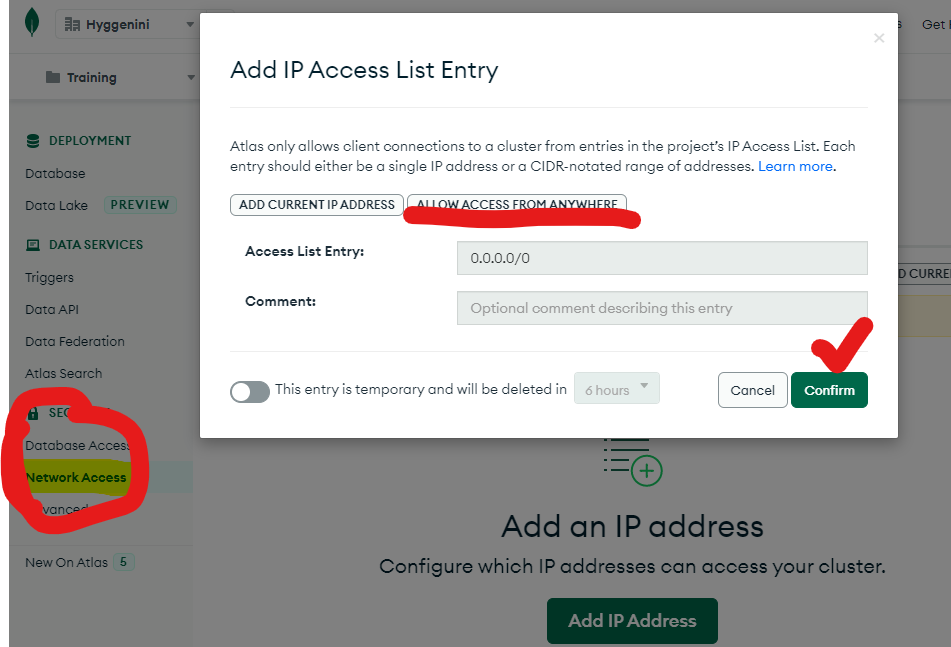
- 建立資料庫遠端存取權限
到Networ Access中設定可以連進來的IP,因為是免費的所以不用太擔心會不會被用爆了這個問題,等等可以到Database Access設立資料庫的使用者,讓特地使用者可以連進來,增加安全性。
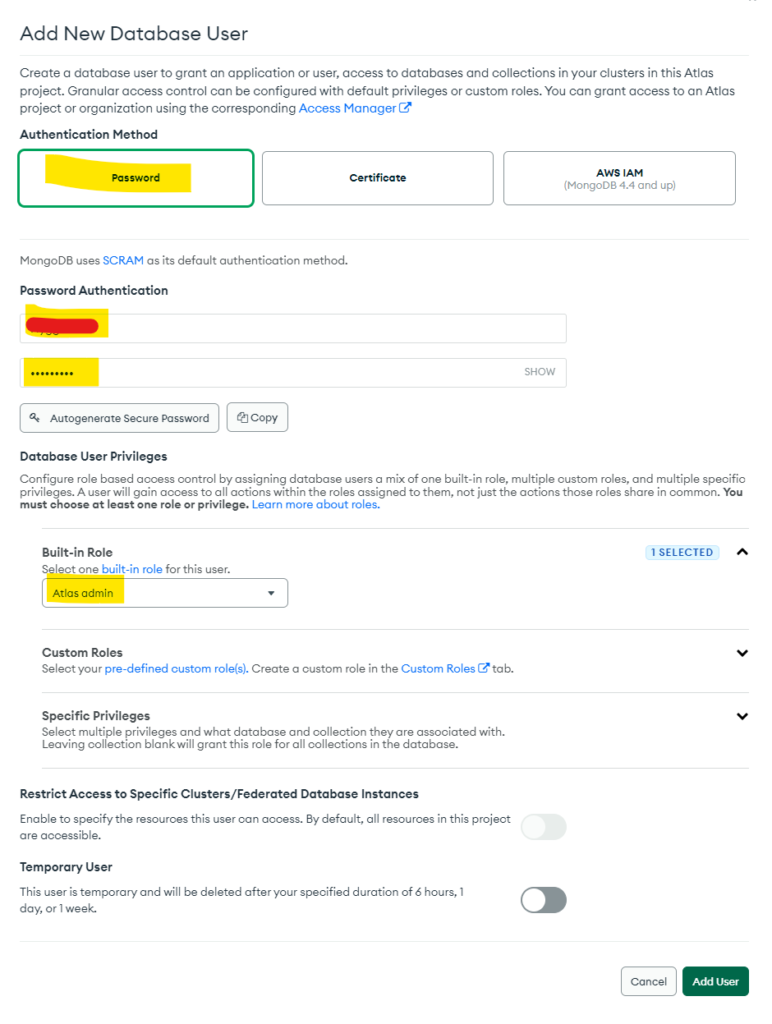
Database Access〉設立資料庫的使用者
幫使用者設立完帳密後,再設立權限,因為練習用所以把權限開到最大Atlas admin,之後正式上線後再依照自己的需求去調整資料庫使用者的權限
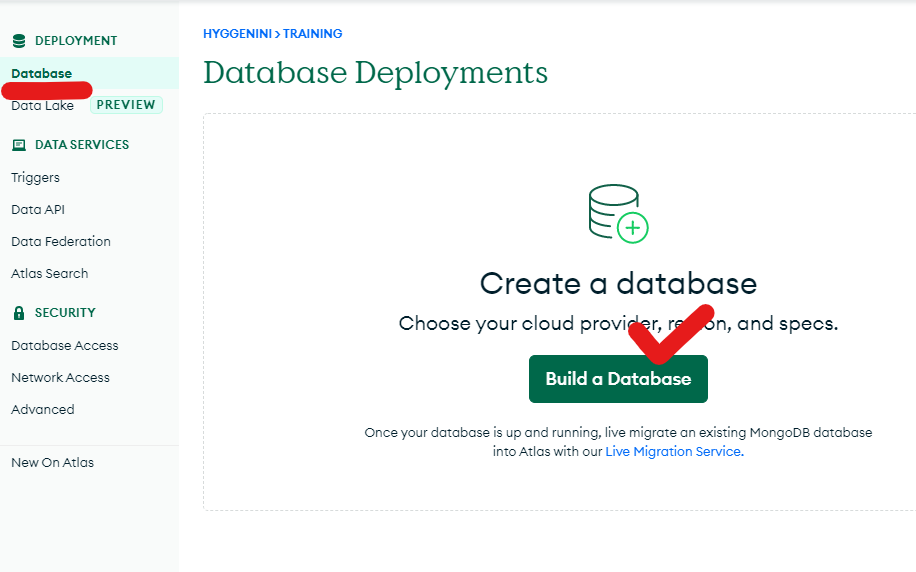
- 建立資料庫叢集
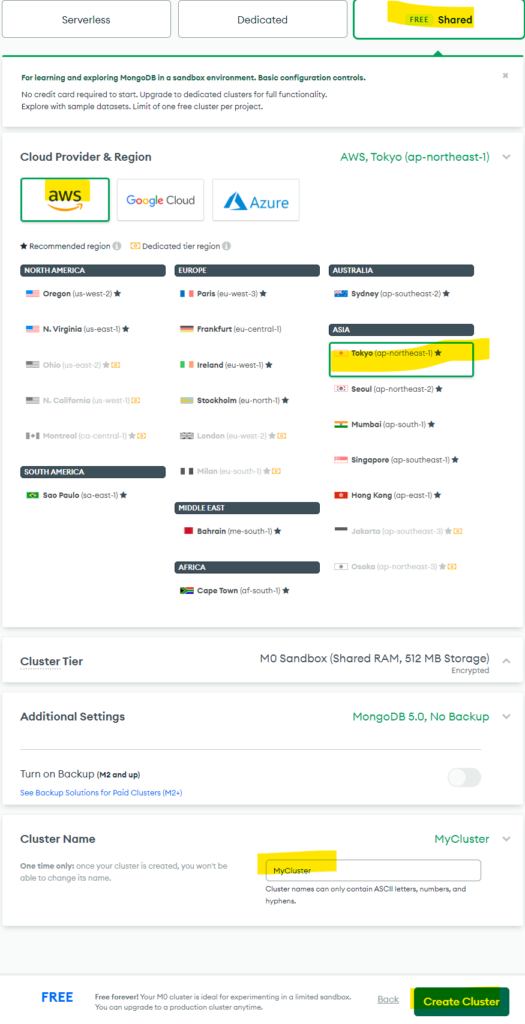
按下Databases (原名為Clusters),選擇免費Plan
這邊我選aws,Clusters名字可隨意取,這邊取MyClusters
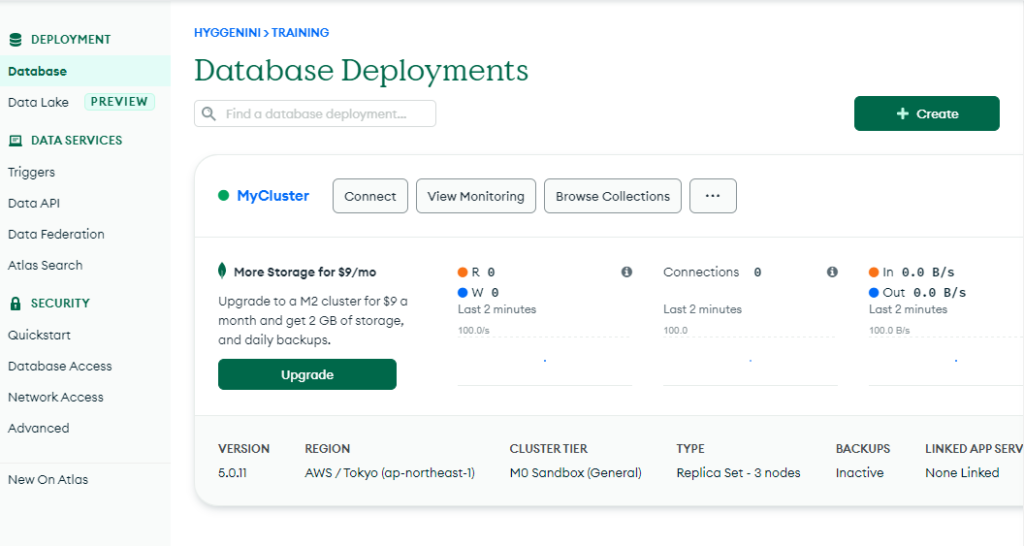
以下是創立好的畫面
Python連線資料庫
- 安裝套件Pymongo[srv]
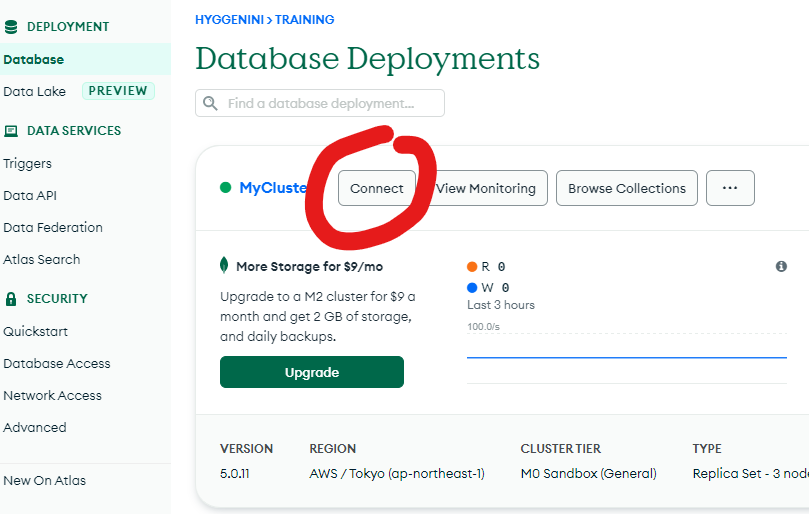
pip install pymongo[srv]- 連線到MongoDB雲端資料庫
點擊Conect
連結自己的appliction
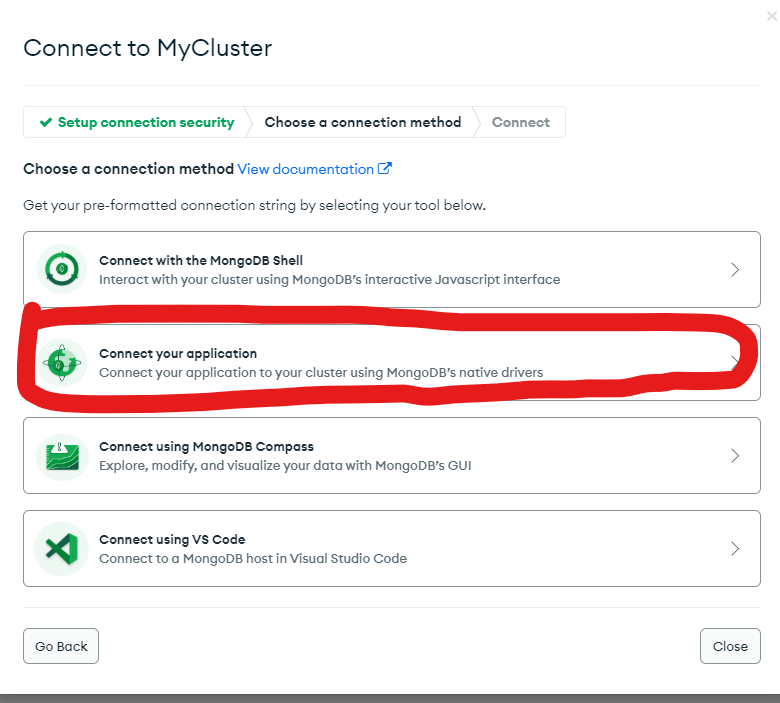
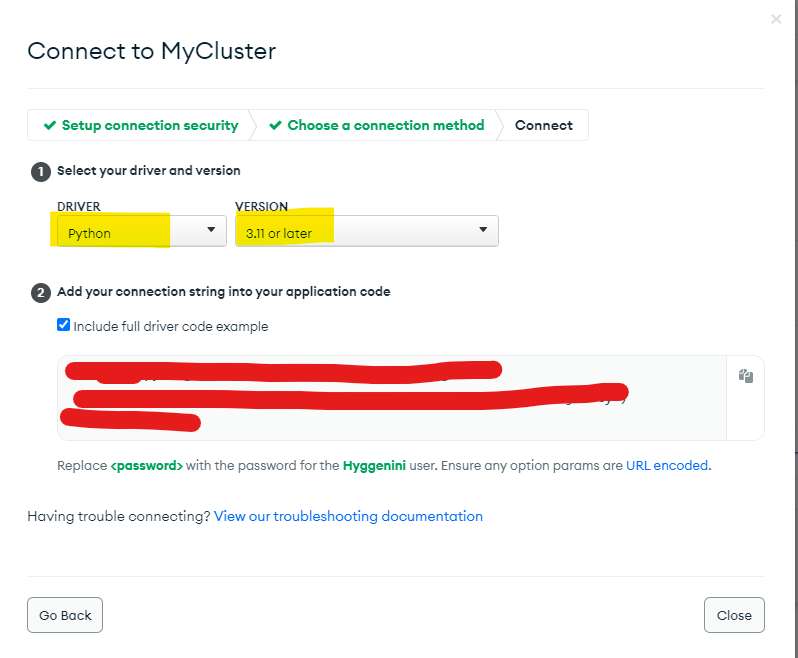
選擇pythob 和版本
把程式碼copy起來,:<password>這邊改成剛剛Database Access的密碼
- 寫連線資料庫的程式
- 進行第一次資料寫
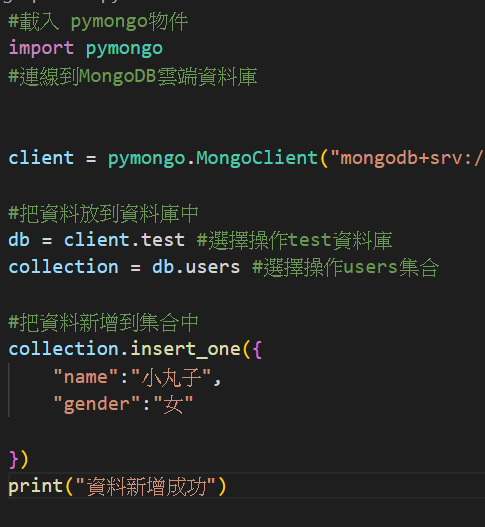
#載入 pymongo物件
import pymongo
#連線到MongoDB雲端資料庫

client = pymongo.MongoClient("mongodb+srv://帳號:密碼@mycluster.................")

#把資料放到資料庫中
db = client.test #選擇操作test資料庫
collection = db.users #選擇操作users集合

#把資料新增到集合中
collection.insert_one({
    "name":"小丸子",
    "gender":"女"

})
print("資料新增成功")

- 確認測試成功
點擊 Browse Collections
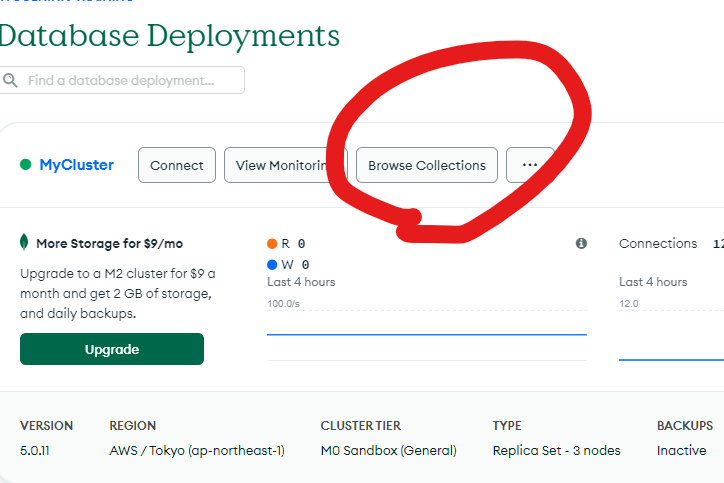
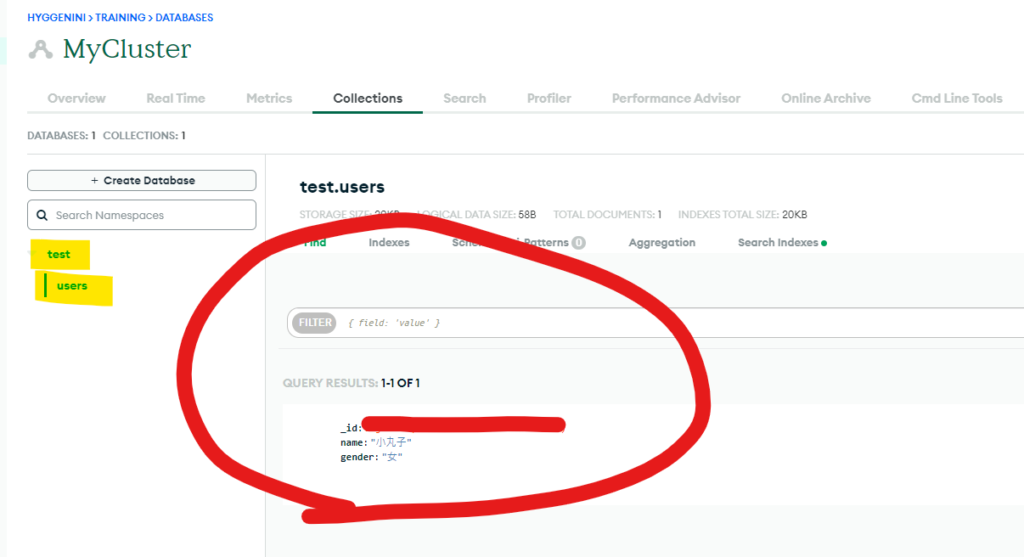
這樣就成功啦